
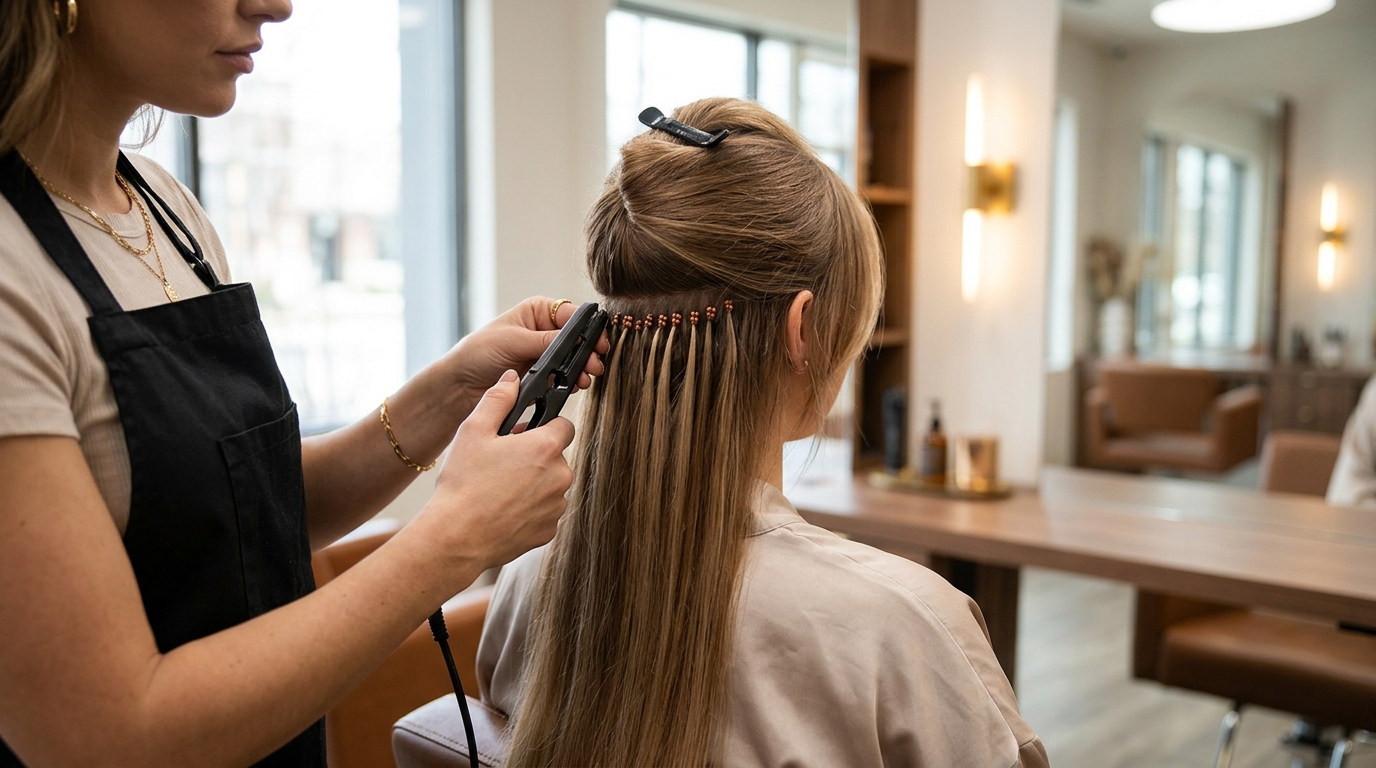
Microlink hair extensions are installed by attaching small, bead-like wefts to sections of natural hair using a specialized clamping tool. This method requires no heat, glue, or tape, making it a gentle and reusable option for adding length and volume. At Avant-Garde Salon & Spa, stylists use this technique to create seamless, natural-looking results that move with your hair.
What Are Microlink Extensions?
Microlink extensions are a type of micro-bead or I-tip extension where small strands of hair are attached to the natural hair using a tiny metal or ceramic bead. The bead is clamped shut around a small section of natural hair, securing the extension in place. This method is distinct from tape-in or fusion extensions because it does not rely on adhesives or heat to bond the hair.
The primary advantage of this method is its reversibility and gentleness on the hair shaft. Because there is no glue or heat involved, the risk of heat damage or chemical irritation is significantly reduced. This makes microlinks a popular choice for clients with sensitive scalps or those who want a long-term solution without the commitment of permanent bonding.
Preparation and Sectioning
The installation process begins with a thorough consultation and preparation of the natural hair. The stylist first washes and dries the hair, ensuring it is free of product buildup that could interfere with the grip of the beads. The hair is then sectioned into small, horizontal rows, typically starting from the nape of the neck and working upward.
Each section is divided into smaller, thinner pieces, usually no more than 10 to 20 strands of natural hair. This precision is critical because the bead must clamp securely around the natural hair without causing tension or breakage. The stylist isolates these small sections to ensure that the weight of the extensions is distributed evenly across the head.
The Clamping Process
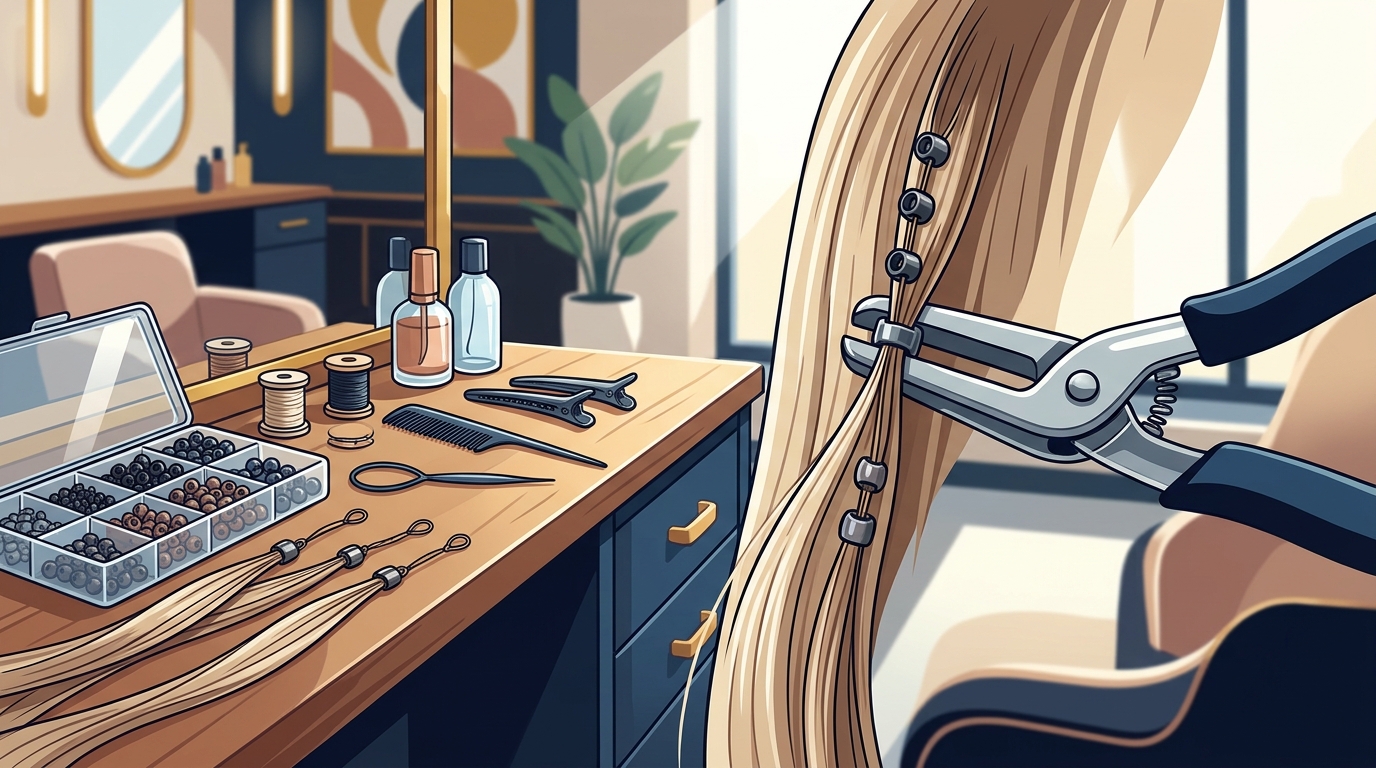
Once the hair is sectioned, the stylist prepares the microlink weft by opening the bead using a specialized clamping tool. The open bead is then slid onto the small section of natural hair, positioned close to the scalp but not directly on it. The stylist then clamps the bead shut, securing the extension to the natural hair.
This clamping action creates a secure hold that allows the extension to move naturally with the head. The stylist repeats this process for each section, working systematically from the bottom of the head to the top. The result is a full head of extensions that blend seamlessly with the natural hair, providing instant length and volume.
Styling and Finishing
After all the beads are installed, the stylist blends the extensions with the natural hair. This may involve cutting and layering the extensions to match the client's desired style. The hair is then washed, conditioned, and styled to ensure that the extensions lie flat and look natural.
Styling microlink extensions is straightforward, as they can be brushed, curled, and straightened just like natural hair. However, it is important to use sulfate-free products and avoid excessive heat to maintain the health of both the natural hair and the extensions. Regular maintenance, such as moving the beads up as the hair grows, ensures that the extensions remain secure and comfortable.
Maintenance and Care
Proper care is essential to extend the life of microlink extensions. Clients should brush their hair gently, starting from the ends and working up to the roots, to prevent tangling. It is also recommended to sleep with the hair tied in a loose braid or ponytail to minimize friction.
At Avant-Garde Salon & Spa, stylists provide detailed aftercare instructions to help clients maintain their extensions. Regular appointments are necessary to move the beads up as the natural hair grows, typically every 6 to 8 weeks. This maintenance ensures that the extensions remain secure and that the natural hair stays healthy.
Key Takeaways
- Microlink extensions use small beads clamped to natural hair, requiring no heat or glue.
- Preparation involves washing, drying, and sectioning hair into small, horizontal rows.
- The clamping tool secures the bead around a small section of natural hair.
- Styling involves blending the extensions with natural hair for a seamless look.
- Regular maintenance, including brushing and moving beads up, is crucial for longevity.
- This method is gentle on the hair and suitable for sensitive scalps.
Frequently Asked Questions
How long does microlink installation take?
The installation process typically takes between 2 to 4 hours, depending on the amount of extensions and the desired style. The time required for preparation, sectioning, and clamping each bead contributes to the overall duration.
Are microlink extensions painful?
No, microlink extensions are generally painless. The clamping process is quick and does not involve heat or chemicals, making it a comfortable experience for most clients.
How long do microlink extensions last?
Microlink extensions can last for several months with proper care. The beads need to be moved up every 6 to 8 weeks as the natural hair grows, but the extensions themselves can be reused multiple times.
Can I swim with microlink extensions?
Yes, you can swim with microlink extensions. However, it is important to rinse your hair with fresh water after swimming in chlorinated or salt water to prevent damage to the beads and hair.
Do microlink extensions damage natural hair?
When installed and maintained correctly, microlink extensions do not damage natural hair. The key is to ensure that the beads are not clamped too tightly and that the hair is properly cared for between appointments.
Ready to Transform Your Look?
If you are considering adding length or volume to your hair, microlink extensions offer a versatile and gentle solution. At Avant-Garde Salon & Spa, our experienced stylists are ready to help you achieve your desired look. To plan your visit, contact our team to schedule a consultation and discover how microlink extensions can enhance your style.